7th March – 11th March: I started and finished my Rationale, read and wrote my response to the brief. Also completed part of my planning. – I had a solid idea and was thinking about how id create it. I didn’t complete my planning and needed more work on it. My idea needed to be a bit edited due to the actual problem in the story. I changed the problem from murder to assault.
14th March – 18th March: I did more research for news reports. also methods to use to editing and filming and i finished writing up my research plan for the Context Essay. Also started my subject research. It went well because i grew with a bigger understanding on how i would do editing methods and i also got research to the meaning of the message going into my product. I need to continue subject research and get more global news of celebrities and ones people haven’t necessarily seen the full picture of them or heard of them.
22nd March – I finished my subject research and started looking at existing products and analysing them. It went well because i got more evidence of the message i am going for. I have to watch products that represent or link to my message to see how i could use shots etc. I have improved on my main idea since my last journal entry and i have also changed some shot ideas and added a text pop up edit from a tutorial on youtube.
28th March – I added onto my subject research and finished the existing products and analysed them and starting my script.
29th March – I Started and finished the judgements and concepts as well as starting the Aims, Ambitions and Purpose
31st March- I finished the Aims, Ambitions and Purpose and SWOT Analysis and started the Storyboard
1st April – Finished the Storyboard and Edit the script
28th March – 5th April: I analysed existing products and gained ideas that i could use in my project. I started my script at the beginning of the week and finished it at the end of the week. I also created my storyboard. Finished writing my SWOT Analysis. I also finished my script on the 5th. I made some changes to the script to make it have more common sense and its an understanding for the actor on what they had to read etc. I also changed some of the story due to the original “murder” would be more controversial and the new idea is more realistic.
30th April – Planned to do celebrity filming following weeks upon actors free time. I created a script specifically for the celebrity himself so that we can have it on set in some ways and also so the actor can learn his lines and positioning etc.


I set up the TV Studio to what i would think is a good angle for things and I had 2 cameras set up one for close up and one for the main shot. I also had 2 lights set up; one at the right of the main camera and one to the left of Oli when he sat down.
I did this because I wanted to give more of a whole room lit up type feel to get a clear view of everything.
I also had a wireless microphone attached to Olis Jacket for clear audio of his replies because the things I say behind the camera will be cut out and re-recorded in the radio studio.
With the set itself I had to readjust the table as it was slanted in shot a few times.
This caused a bit of an issue since the shot looked slanted.
We fixed this by rearranging the set and Oli also helped move the table as I made sure it looked good.


I set up a small photo area to take character pictures for the movie premiere. I used a white wall and the white sheet so when it comes to editing its easier to cut it all out as one whole gap.
With this i had to change angles, close the blinds and adjust the lighting for all different shots.
These pictures will help with research and also help to make the movie premiere poster better.


When editing these photos i go through a method of editing. I had to ask Oli himself what font he was using for his movie because since in my story he is an actor and in his project he is acting in his star wars creation i thought it would be quite cool to link them in a way.
I used a website to get the fonts i needed for the poster and i edited the colour and gradients in photoshop to show little easter eggs for the characters upcoming movie and it also make the scene look more presentable and makes a nice mis en scen


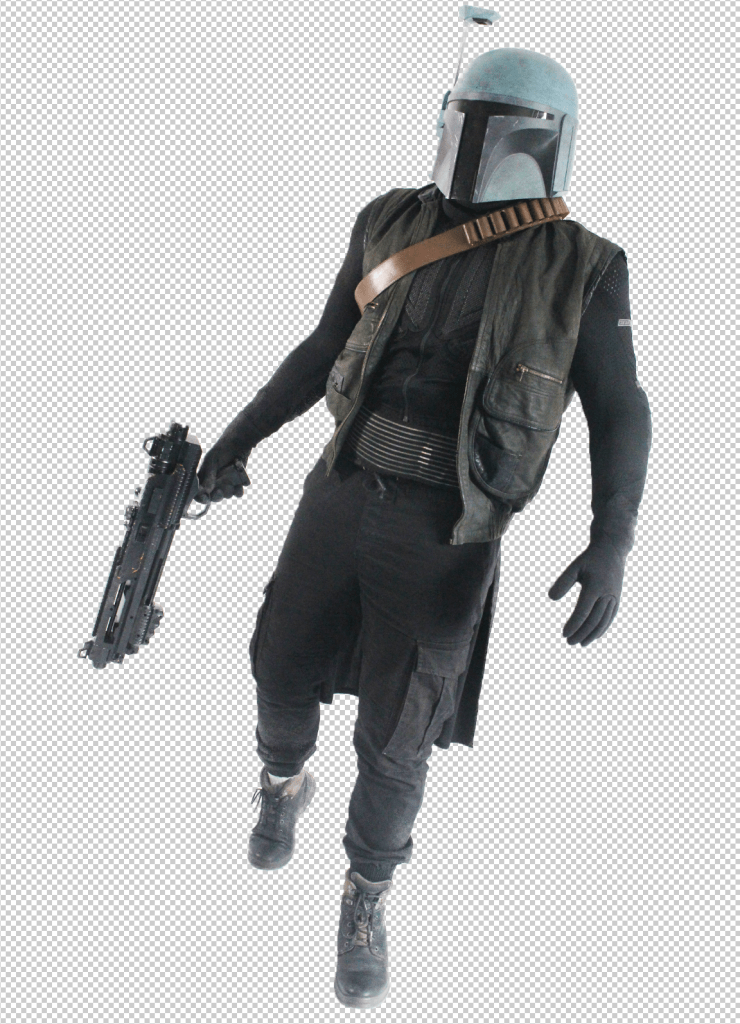
The images above show the method i used to snip out the characters from the actual white background.
I used the quick selection tool to put the marching ants around the character and then right click on the background layer and duplicate the layer and then click select at the top of the screen and click inverse and then press backspace to get rid of the background.

In Adobe Photoshop i also added shades of black and orange. This was so it went with the background of the movie premiere. I did this by using the pen tool on a new layer and added a gaussian blur


After the gaussian blur i right clicked on the layer and clicked blending options.
I then moved and split the underlying layer to make the orange fade and go at an angle.
after i did this for every part of the characters body which had light against it i used the quick selection tool, when i had the whole character selected i clicked invert selection and then deleted the area around it so that i wouldn’t have the orange blur smudging the movie poster around the character.
With this video it shows how to edit a green-screen background. I also learnt from my teacher how to edit the green screen. so with my footage editing i did i had my character set up on a table and had the green-screen behind him.
During the edit i also used a ultra key to click on the green colour so that the background goes away and i add a picture behind the video. For this you also have to edit the contrast and shadows and transparency. To make sure it doesn’t have any weird shadows and shades from the green-screen
A mistake i made when filming at home was having the background similar colours to my skin colour. What i had to do to fix this issue was film in better lighting and a different coloured background. I then started to film in the studio which had studio lighting and a green-screen and it definitely turned out better.


As you can see i use 3 lights as i lit up the green-screen and also used the ultra key to take away the background. This fitted well with my footage and edit. I then positioned the clip over the background and also made the back blurry so it focuses on me more

I went on YouTube to see how to create the credits and I also added a white to black effect on the start and end of the credits so it will give dramatic effect.
 Eva's Blog